Revision [660]
This is an old revision of W124CenterVentPod made by WebMaster on 2009-02-26 15:00:00.
Center Vent Pod Replacement
on the 1987 300D (W124)
by sixto
2/21/09
87 300D Center Vent Pod Replacement
Here's my take on replacing an 87 300D center vent pod. I just replaced a perfectly good pod, but everyone says to replace the pods when the dash is off. Like a lemming, here's how I did it -
0) You'll note through the progression of pictures that the heater core fins take a beating through this job. The heater core remains intact despite liberal use of screwdrivers and other sharp objects. I strongly recommend cardboard or plastic card to protect the heater core while replacing the center vent pod.
1) I don't mean to pull a Haynes on you but you have to remove the dash. No two ways about that. I have a thread on that here -
http://www.peachparts.com/shopforum/showthread.php?t=244658
2) Remove the top cover of the airbox. I'll do a writeup on this when I have specific pictures available but basically there are 2 clips facing you as you look at the airbox from the cabin and 4 screws down into the airbox; 2 along the windshield edge inboard of the vacuum line holders and 2 along the sides. If you can't wait, you can see the 2 clips and 4 screws in the first picture in step 4.
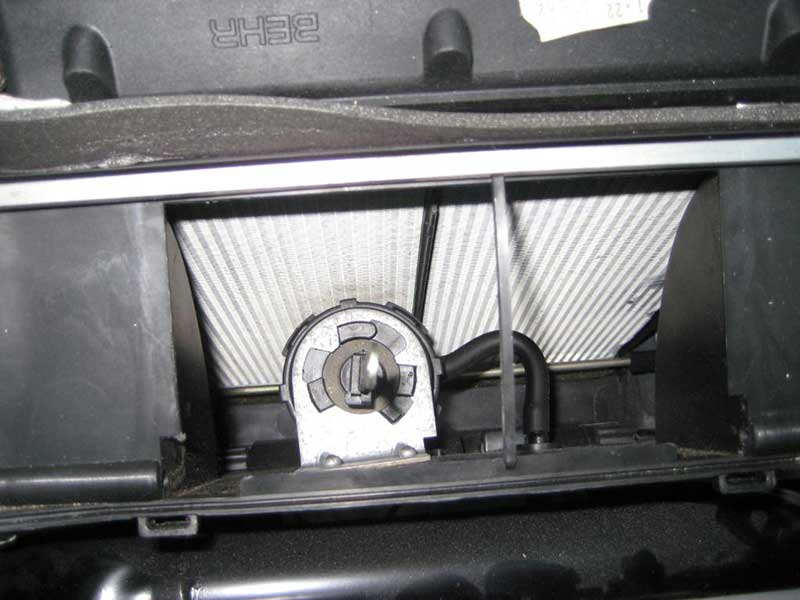
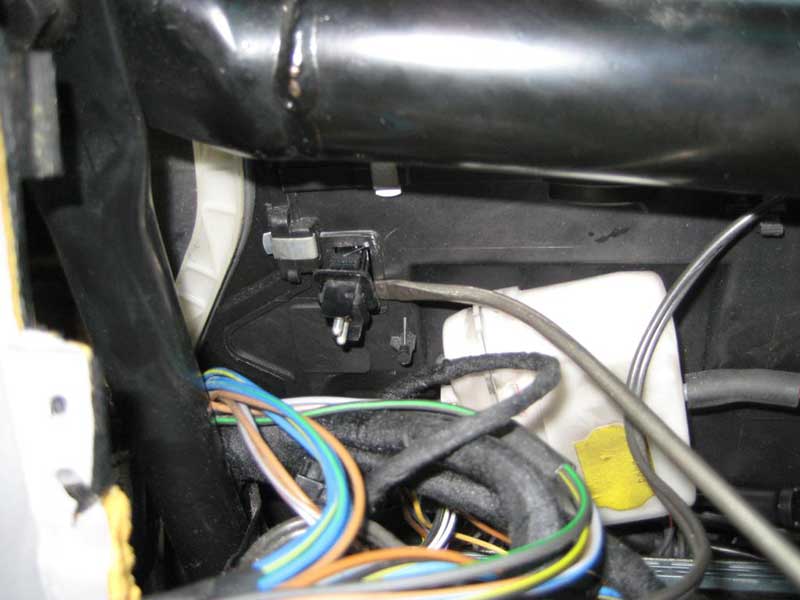
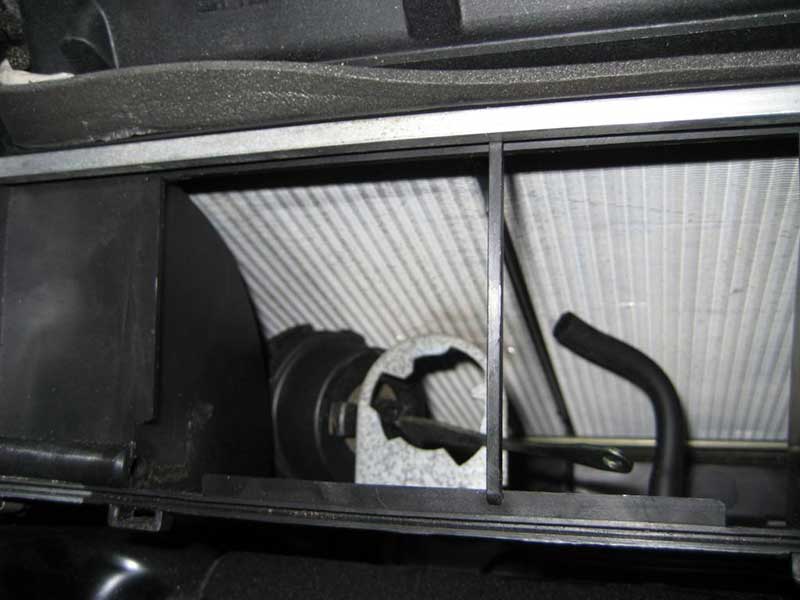
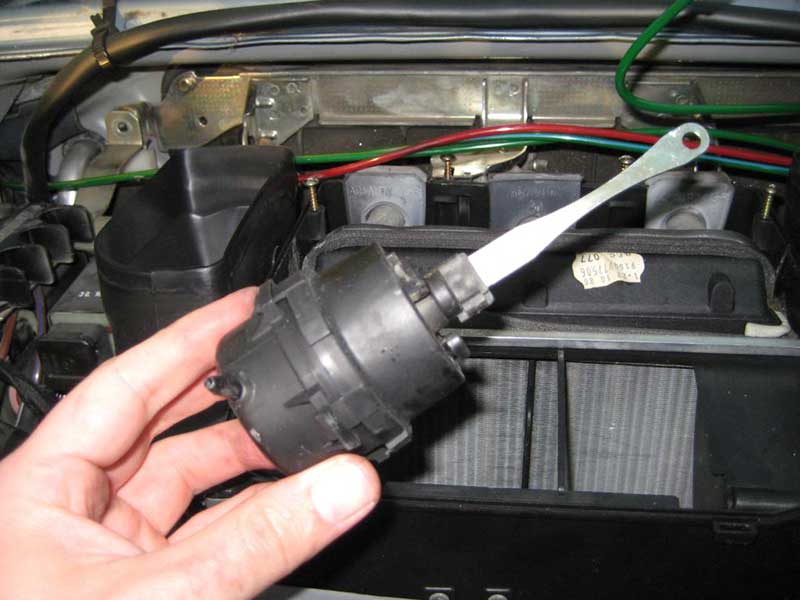
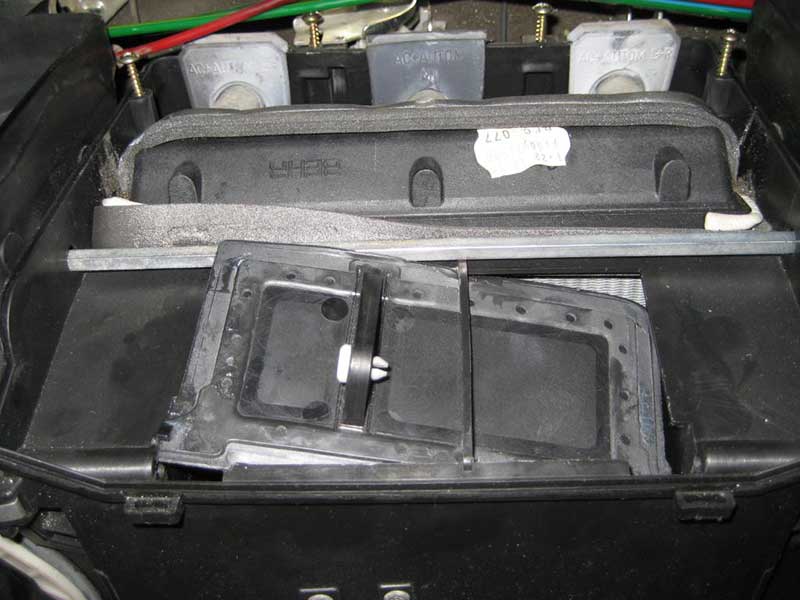
3) Where is the center vent pod? It's inside the airbox, of course. Follow the upper red line from the right of this picture -
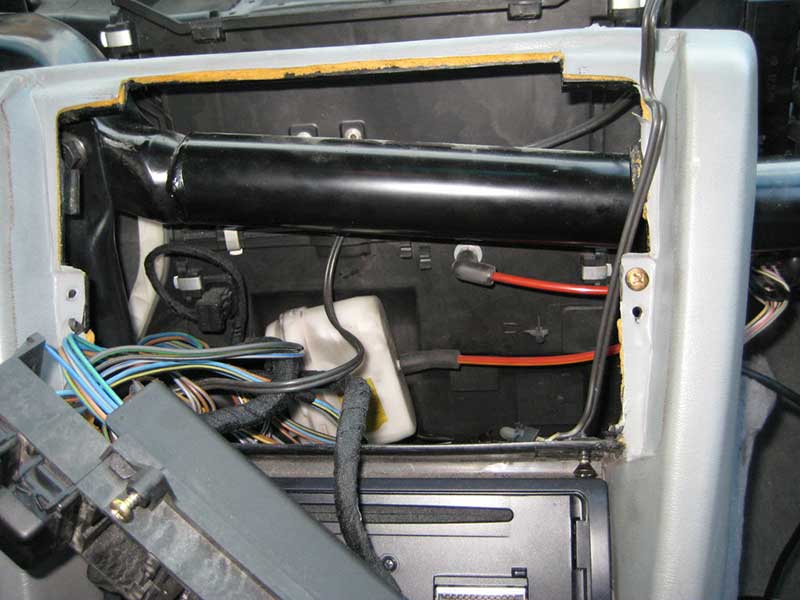
The elbow goes through the airbox wall to another eblow inside the airbox. The 2 rivets you see just above the black pipe going across the dash area hold a bracket that holds the center vent pod. Nothing to do in this step beyond getting oriented. Note the electrical connector with the looped pigtail to the upper left of the white plastic box (footwell pod). I had to do some work with that connector. If you find yourself in the same situation, there is a temp sensor at the other end of that connector.
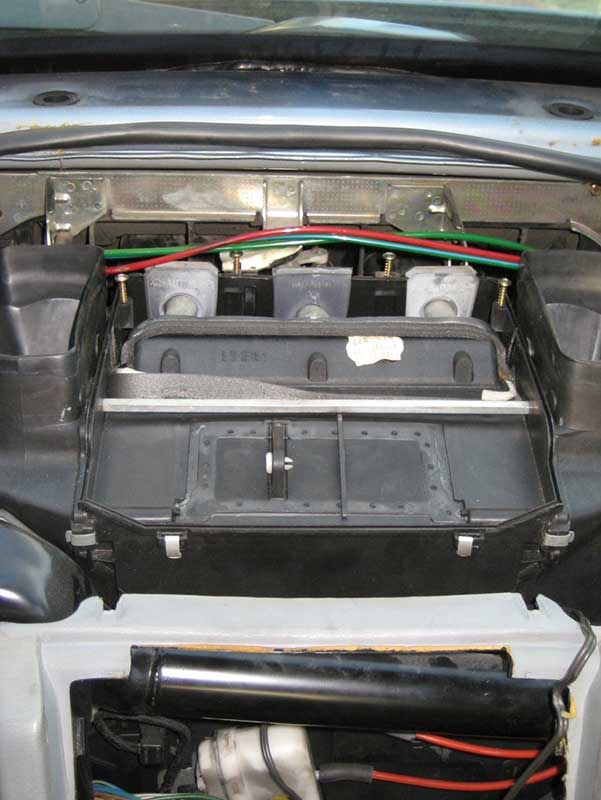
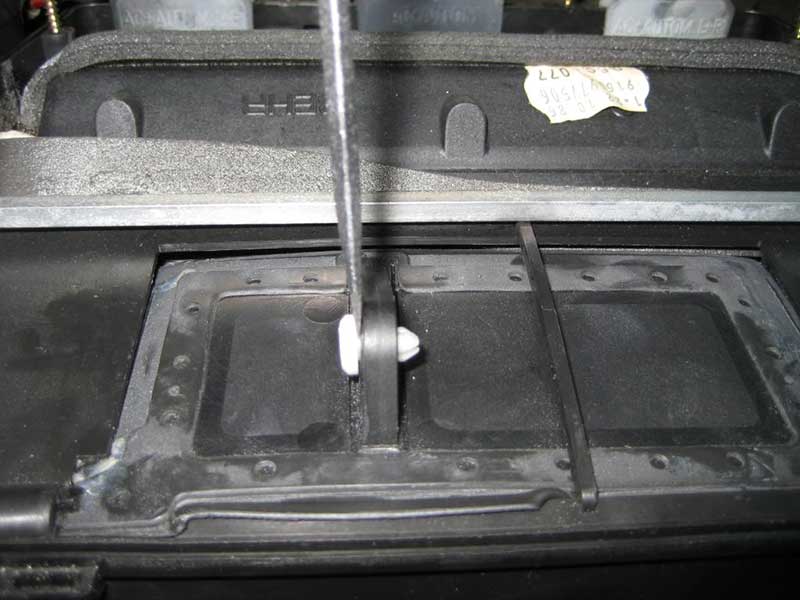
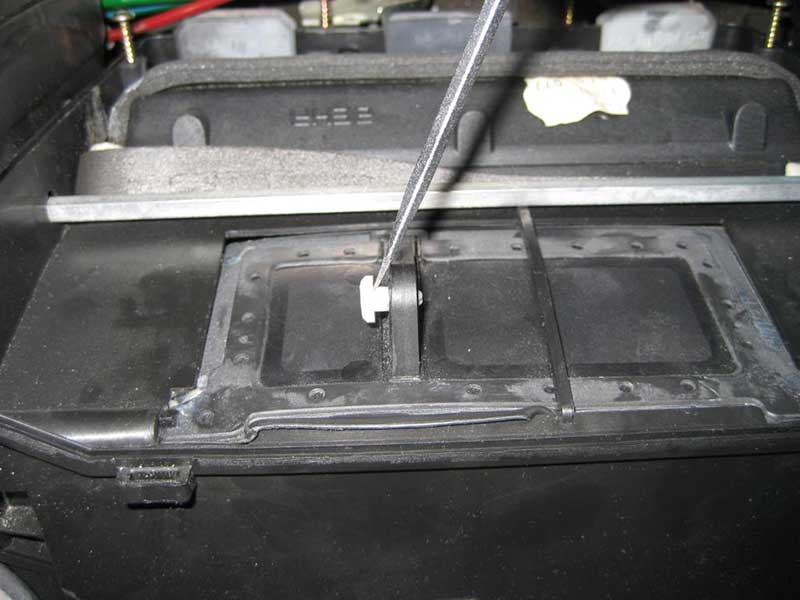
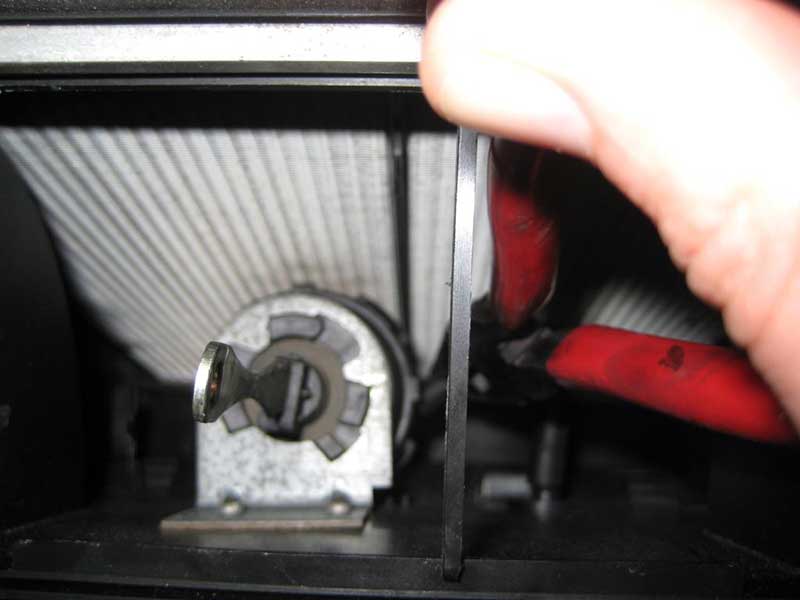
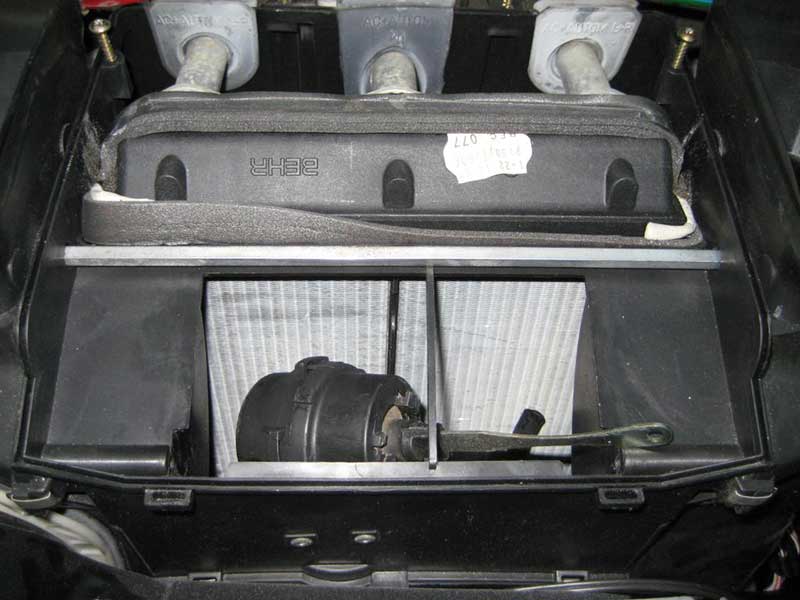
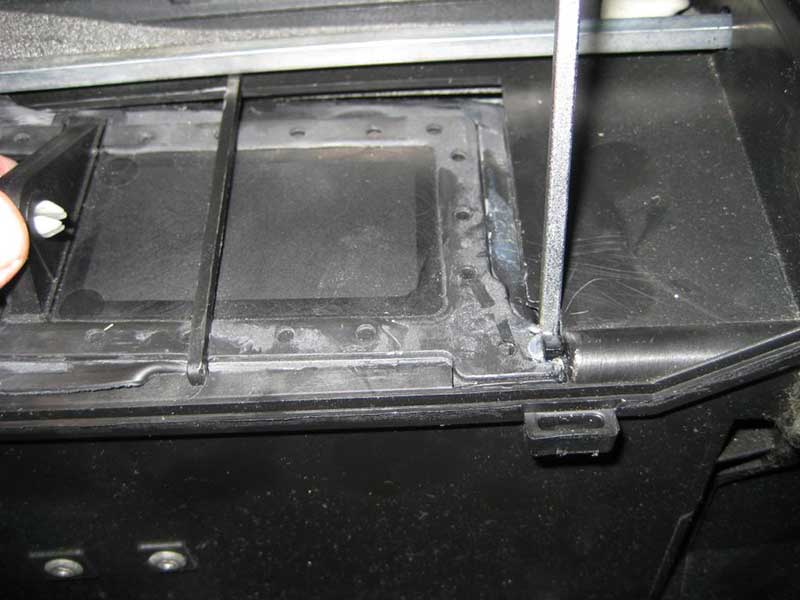
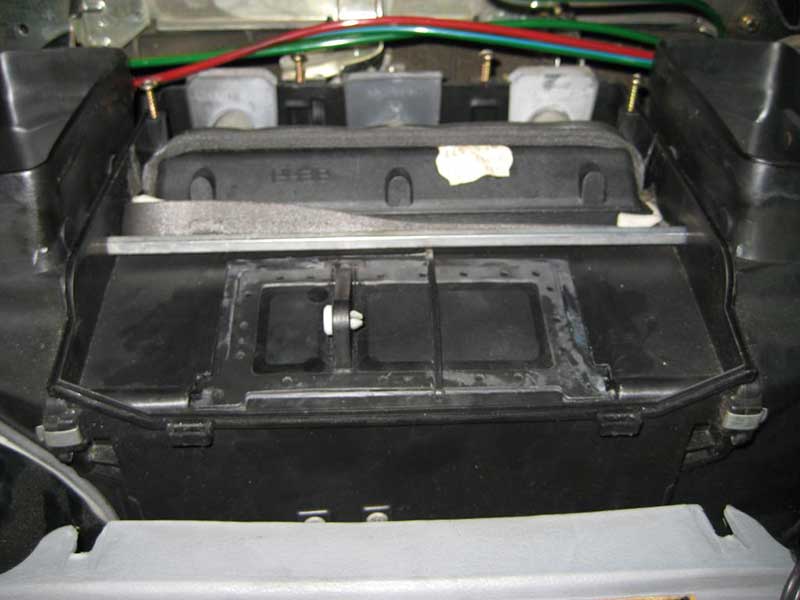
4) Looking at the top of the airbox with the top cover off, you'll see a flap with a series of rubber rivets on the periphery. There is a white plastic pin holding an unseen actuator rod to the flap -
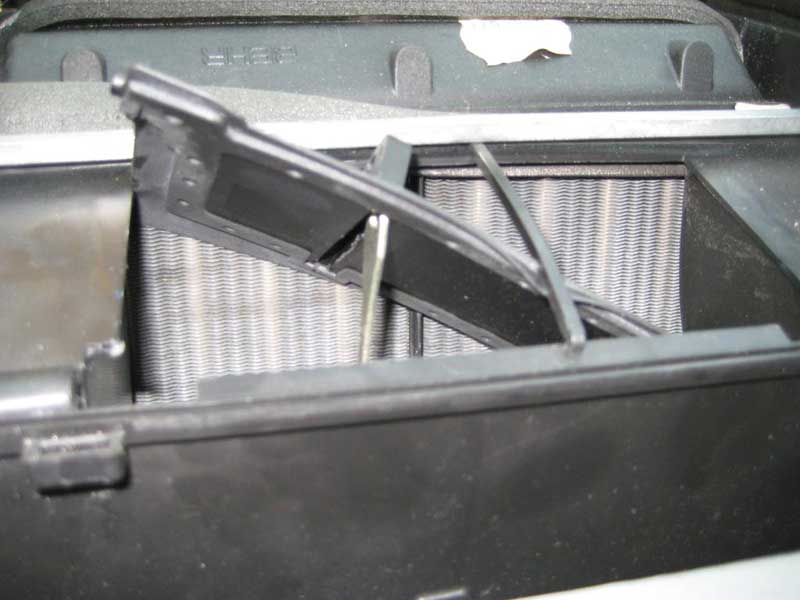
Push down on the flap to see the heater core and the center vent pod -
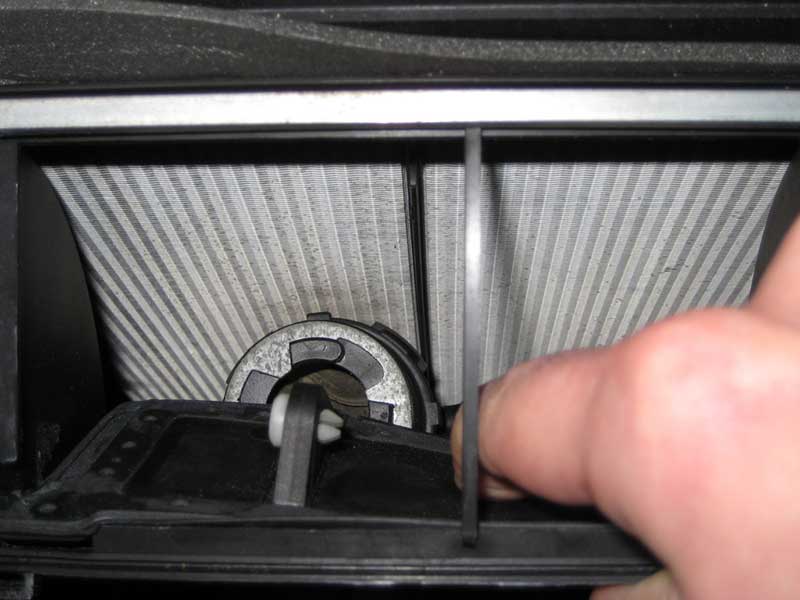
Fooled you, this is another orientation step
 Now to work...
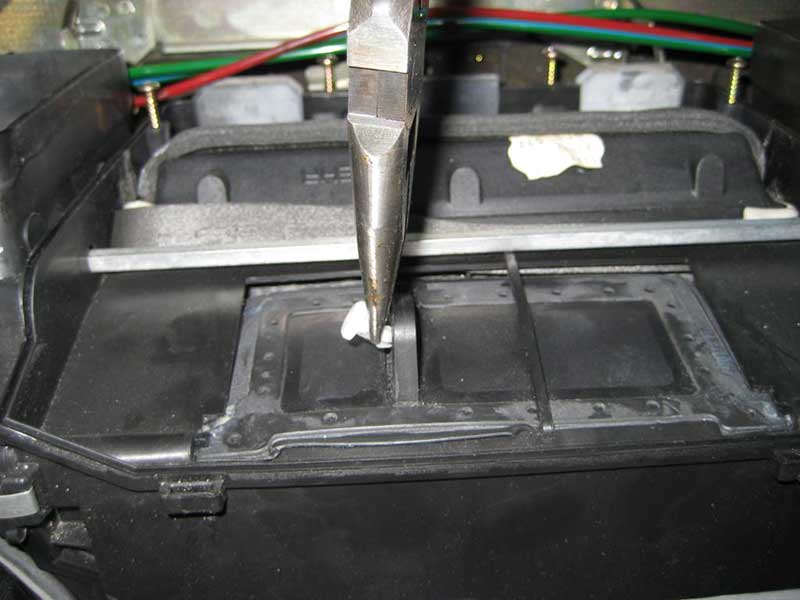
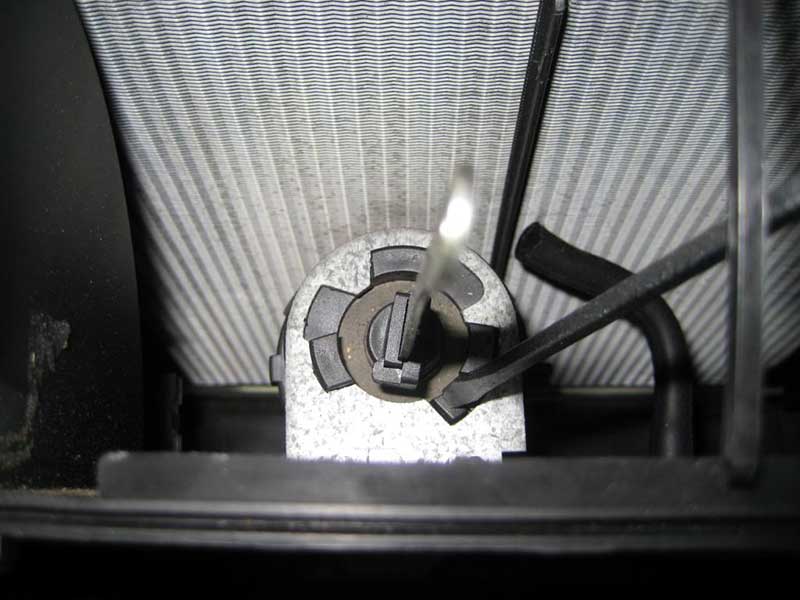
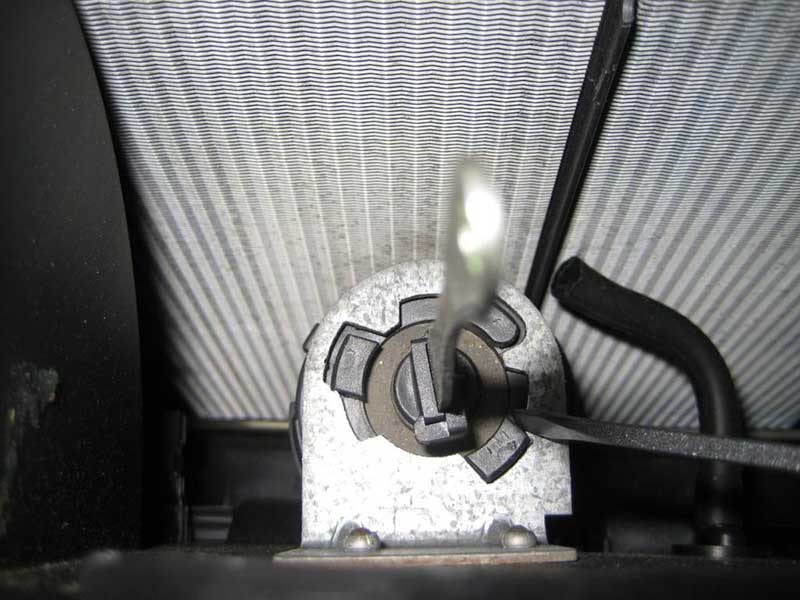
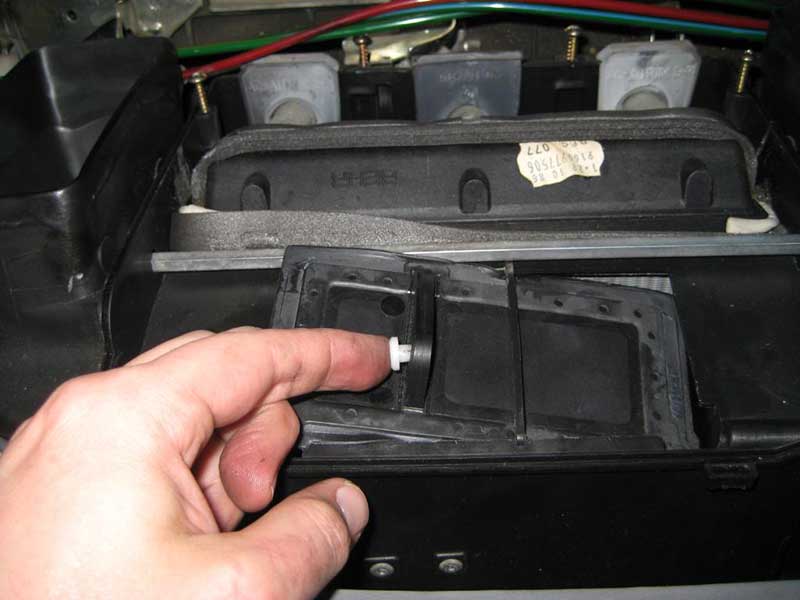
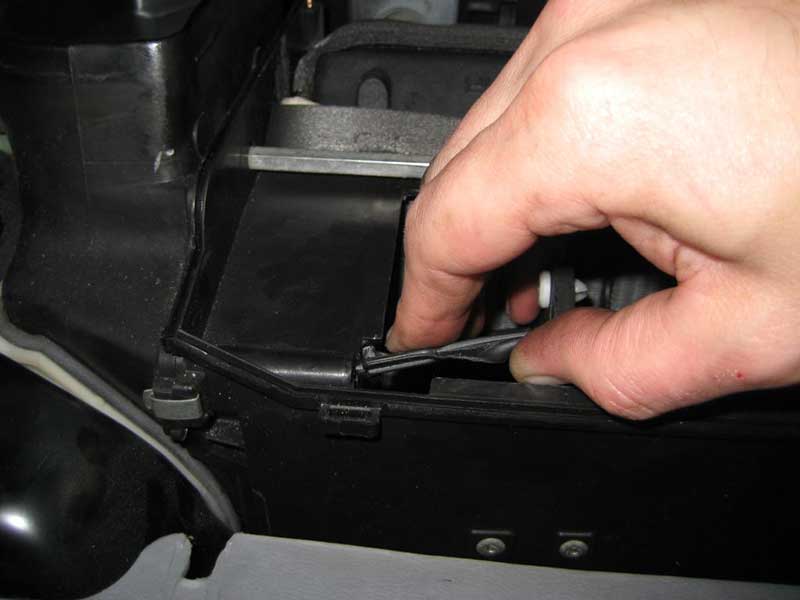
5) I used a small screwdriver to pry out and remove the pin as shown in this sequence -
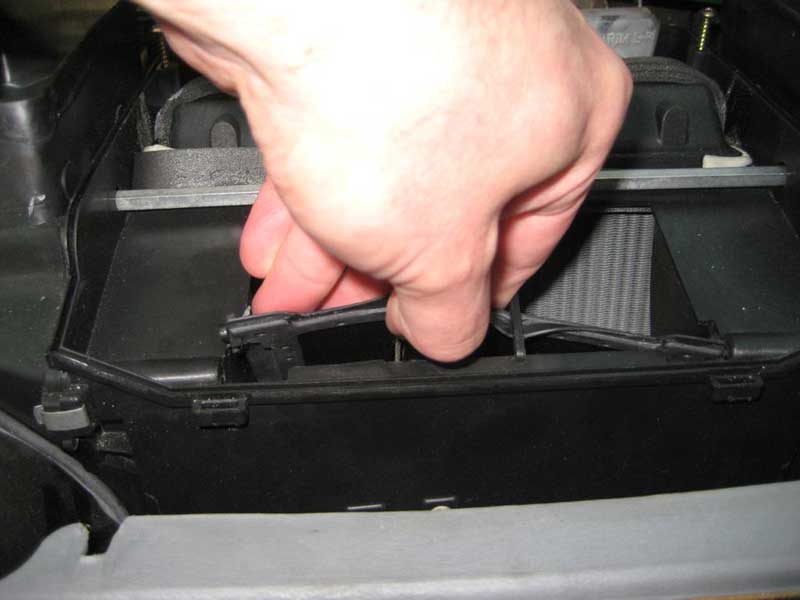
6) I used my hand to pry out and remove the center vent flap as shown in this sequence -

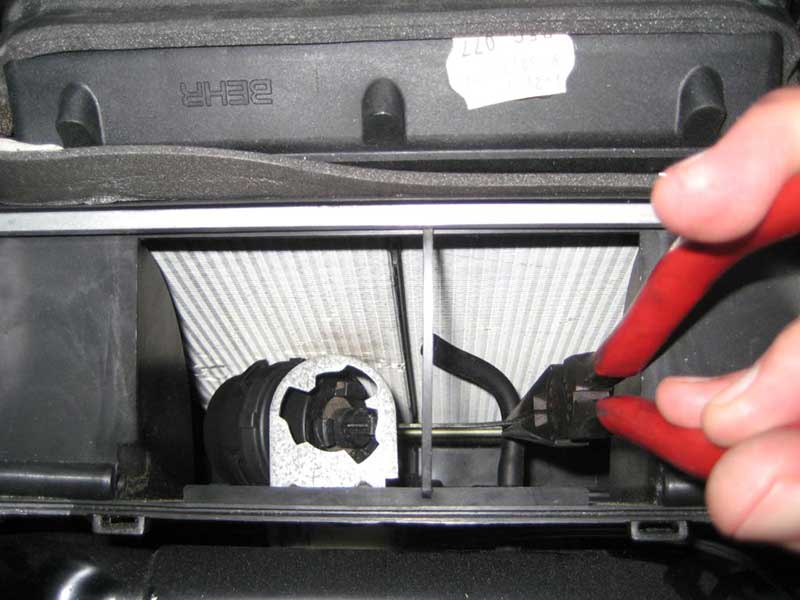
7) I used longnose pliers to remove the vacuum hose from the pod. Fortunately it didn't require twisting like the recirc and defrost pods did. Here's the sequence -
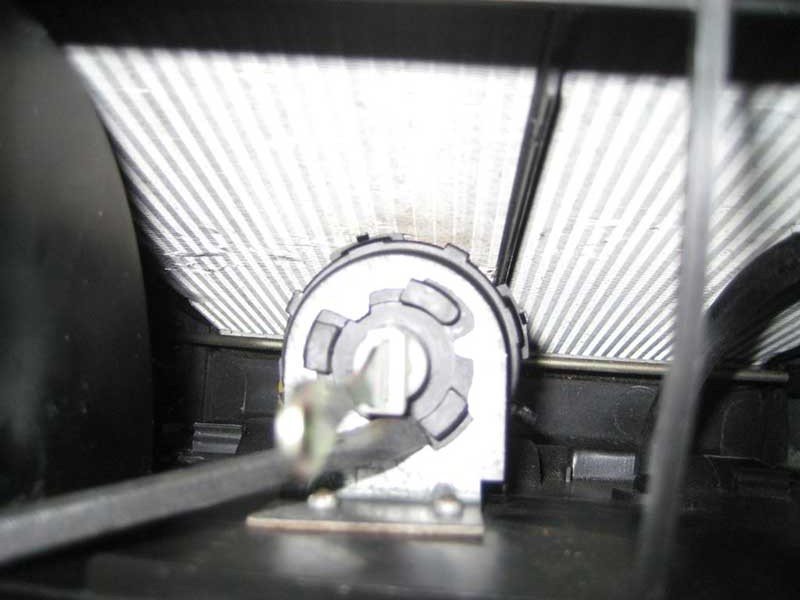
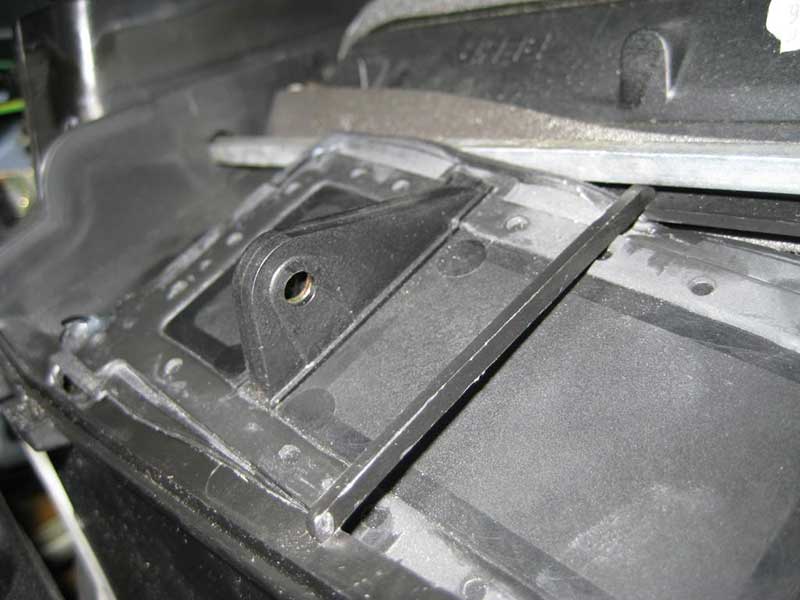
8) The pod is bayonet clipped to the bracket. A CW turn aligns the pod clips with slots in the bracket. Note an extra locking tab at the 5 o'clock position -

Push down the locking tab then turn the pod clockwise so the tabs align with the slots. I used two screwdrivers simultaneously (but I couldn't hold 2 screwdrivers and a camera hence separate pictures); one to push down the locking tab, one to push on another tab to rotate the pod -
The pod should drop from the bracket on its own or with a little push.
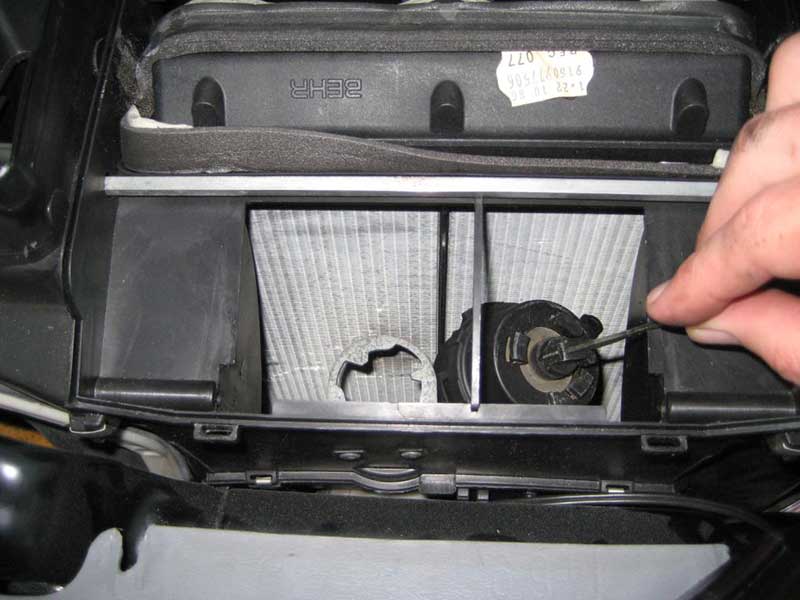
9) I found it easier to maneuver the pod with the temp sensor described in step 3 out of the way. Removing the temp sensor is shown in this sequence. Key to removal was my custom Stanley flathead screwdriver prybar. I forget how I came to bend this screwdriver but it is an indispensible member of my toolbox as is -
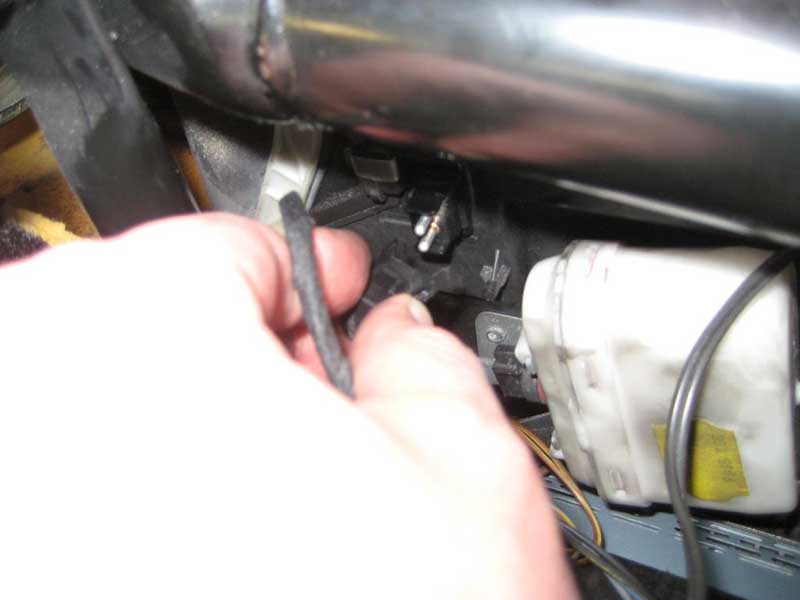
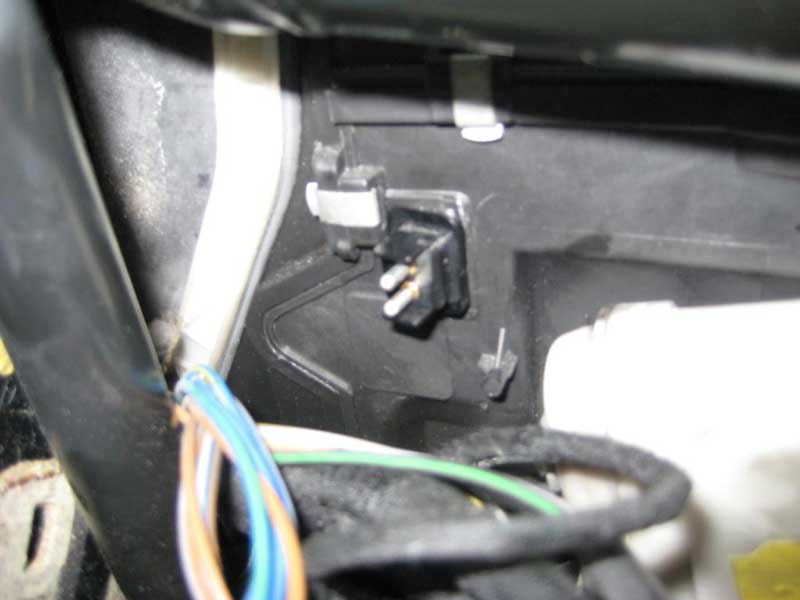
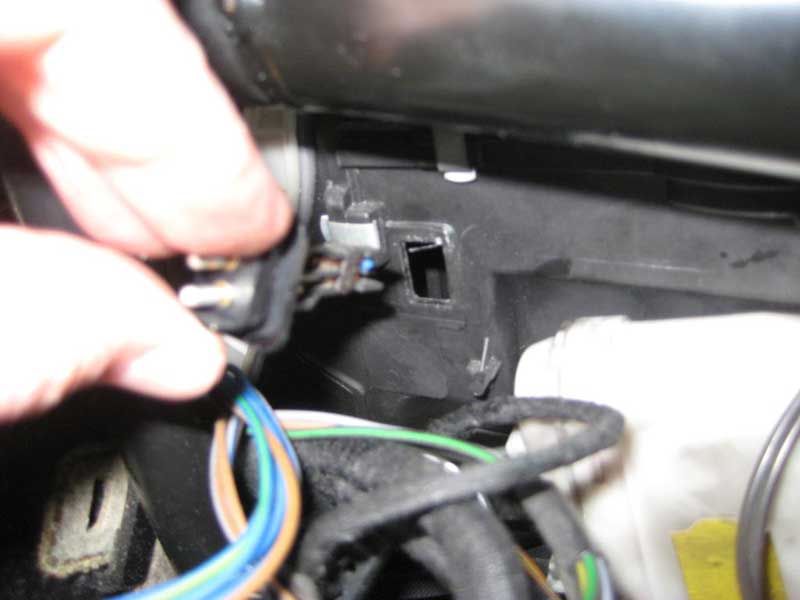
I don't remember how I noted the original orientation of the temp sensor but I know I put it back the way it was originally installed.
10) Words can't adequately describe how to remove the pod from the airbox and I'm sure there are lots of ways to do it. Here's what worked for me. I sent the pod into the cavity towards the driver side where the temp sensor used to be. I had to push the actuator rod into the pod at some point to clear the bracket -

Then I drew the pod to the passenger side -
Then I got the pod over the bracket -
Then I got the pod right under the driver side of the flap opening -
Then I pushed in the actuator rod again to extract the pod from the airbox vacuum chamber first. Voila -
11) I'll pull another Haynes on you and say replacement is the opposite of removal. Do backwards whatever you did to remove the old pod to get the new pod in place. Keep track of the nipple so it's clocked properly when the pod is set in the bracket, but more importantly so you don't push or pull on the nipple or get it caught while wrestling the new pod into place. There shouldn't be too much wrestling.
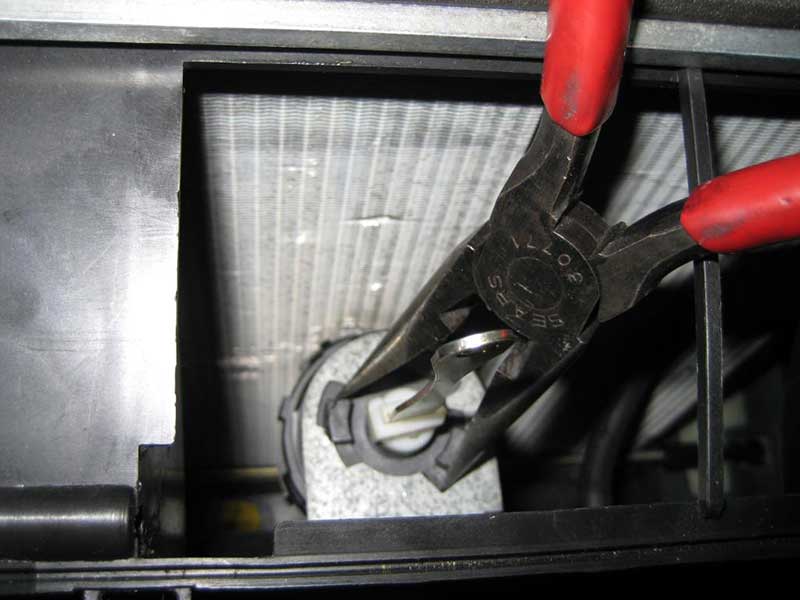
It was easy to push on the locking tab then turn the pod CW to get it off the bracket. It's quite another matter to align the tabs for installation and turn it CCW against the locking tab pushing against the bracket. The actuator rod is free to rotate so you can't use is to clock the pod. I used longnose pliers on the pod clips to get them just started on the bracket then used a screwdriver to engage the clips enough that the pod would stay in place. Mind you don't damage the new pod's diaphragm! -
Then I used longnose pliers like snapring pliers to rotate the clips into full engagement confirmed by the locking tab popping into place -
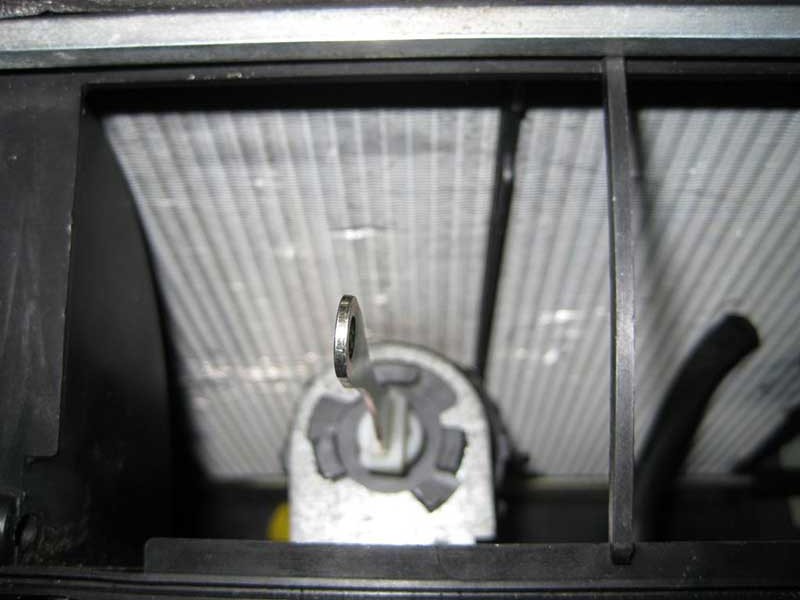
I didn't recognize any clocking to the actuator rod other than the obvious left-right orientation of the pin hole. Why is it always orientation but never occidentation?
12) The center vent flap went back on by hand with the help of a screwdriver on the right hinge as shown in this sequence -

Before engaging the left hinge, engage the actuator rod end into the clevis slot in the center vent flap -
Then fit the pin -

It took some bending to get the left pin into the hinge hole -
Make sure the loose rubber skirt around the center vent flap is seated neatly around the airbox opening. Actuating the flap by hand a couple of times should seat the flap.
Almost there!
13) The last step in this job is to reinstall the temp sensor. I didn't mention in step 9 how I noted the orientation of the temp sensor. I don't know that it matters but I put it back in the same way it was originally installed.
14) I should have said, test the new pod with a MityVac before installation! Then test it again with a MityVac once installed.
Aside from a writeup for removing and installing the dash, I have writeups for the recirc, defrost and diverter pods. I'll add the links as I submit the writeups. The defrost pod can be replaced through the glovebox cavity with the dash in place so the writeup covers that perspective.
The footwell pod is in plain view with the ACC PBU removed and the one in my car is good so I'll save the money and not touch it. I'd do a writeup for the heck of it but I can't figure out how to remove it
Discuss this DIY here.
-sixto
CategoryDiy